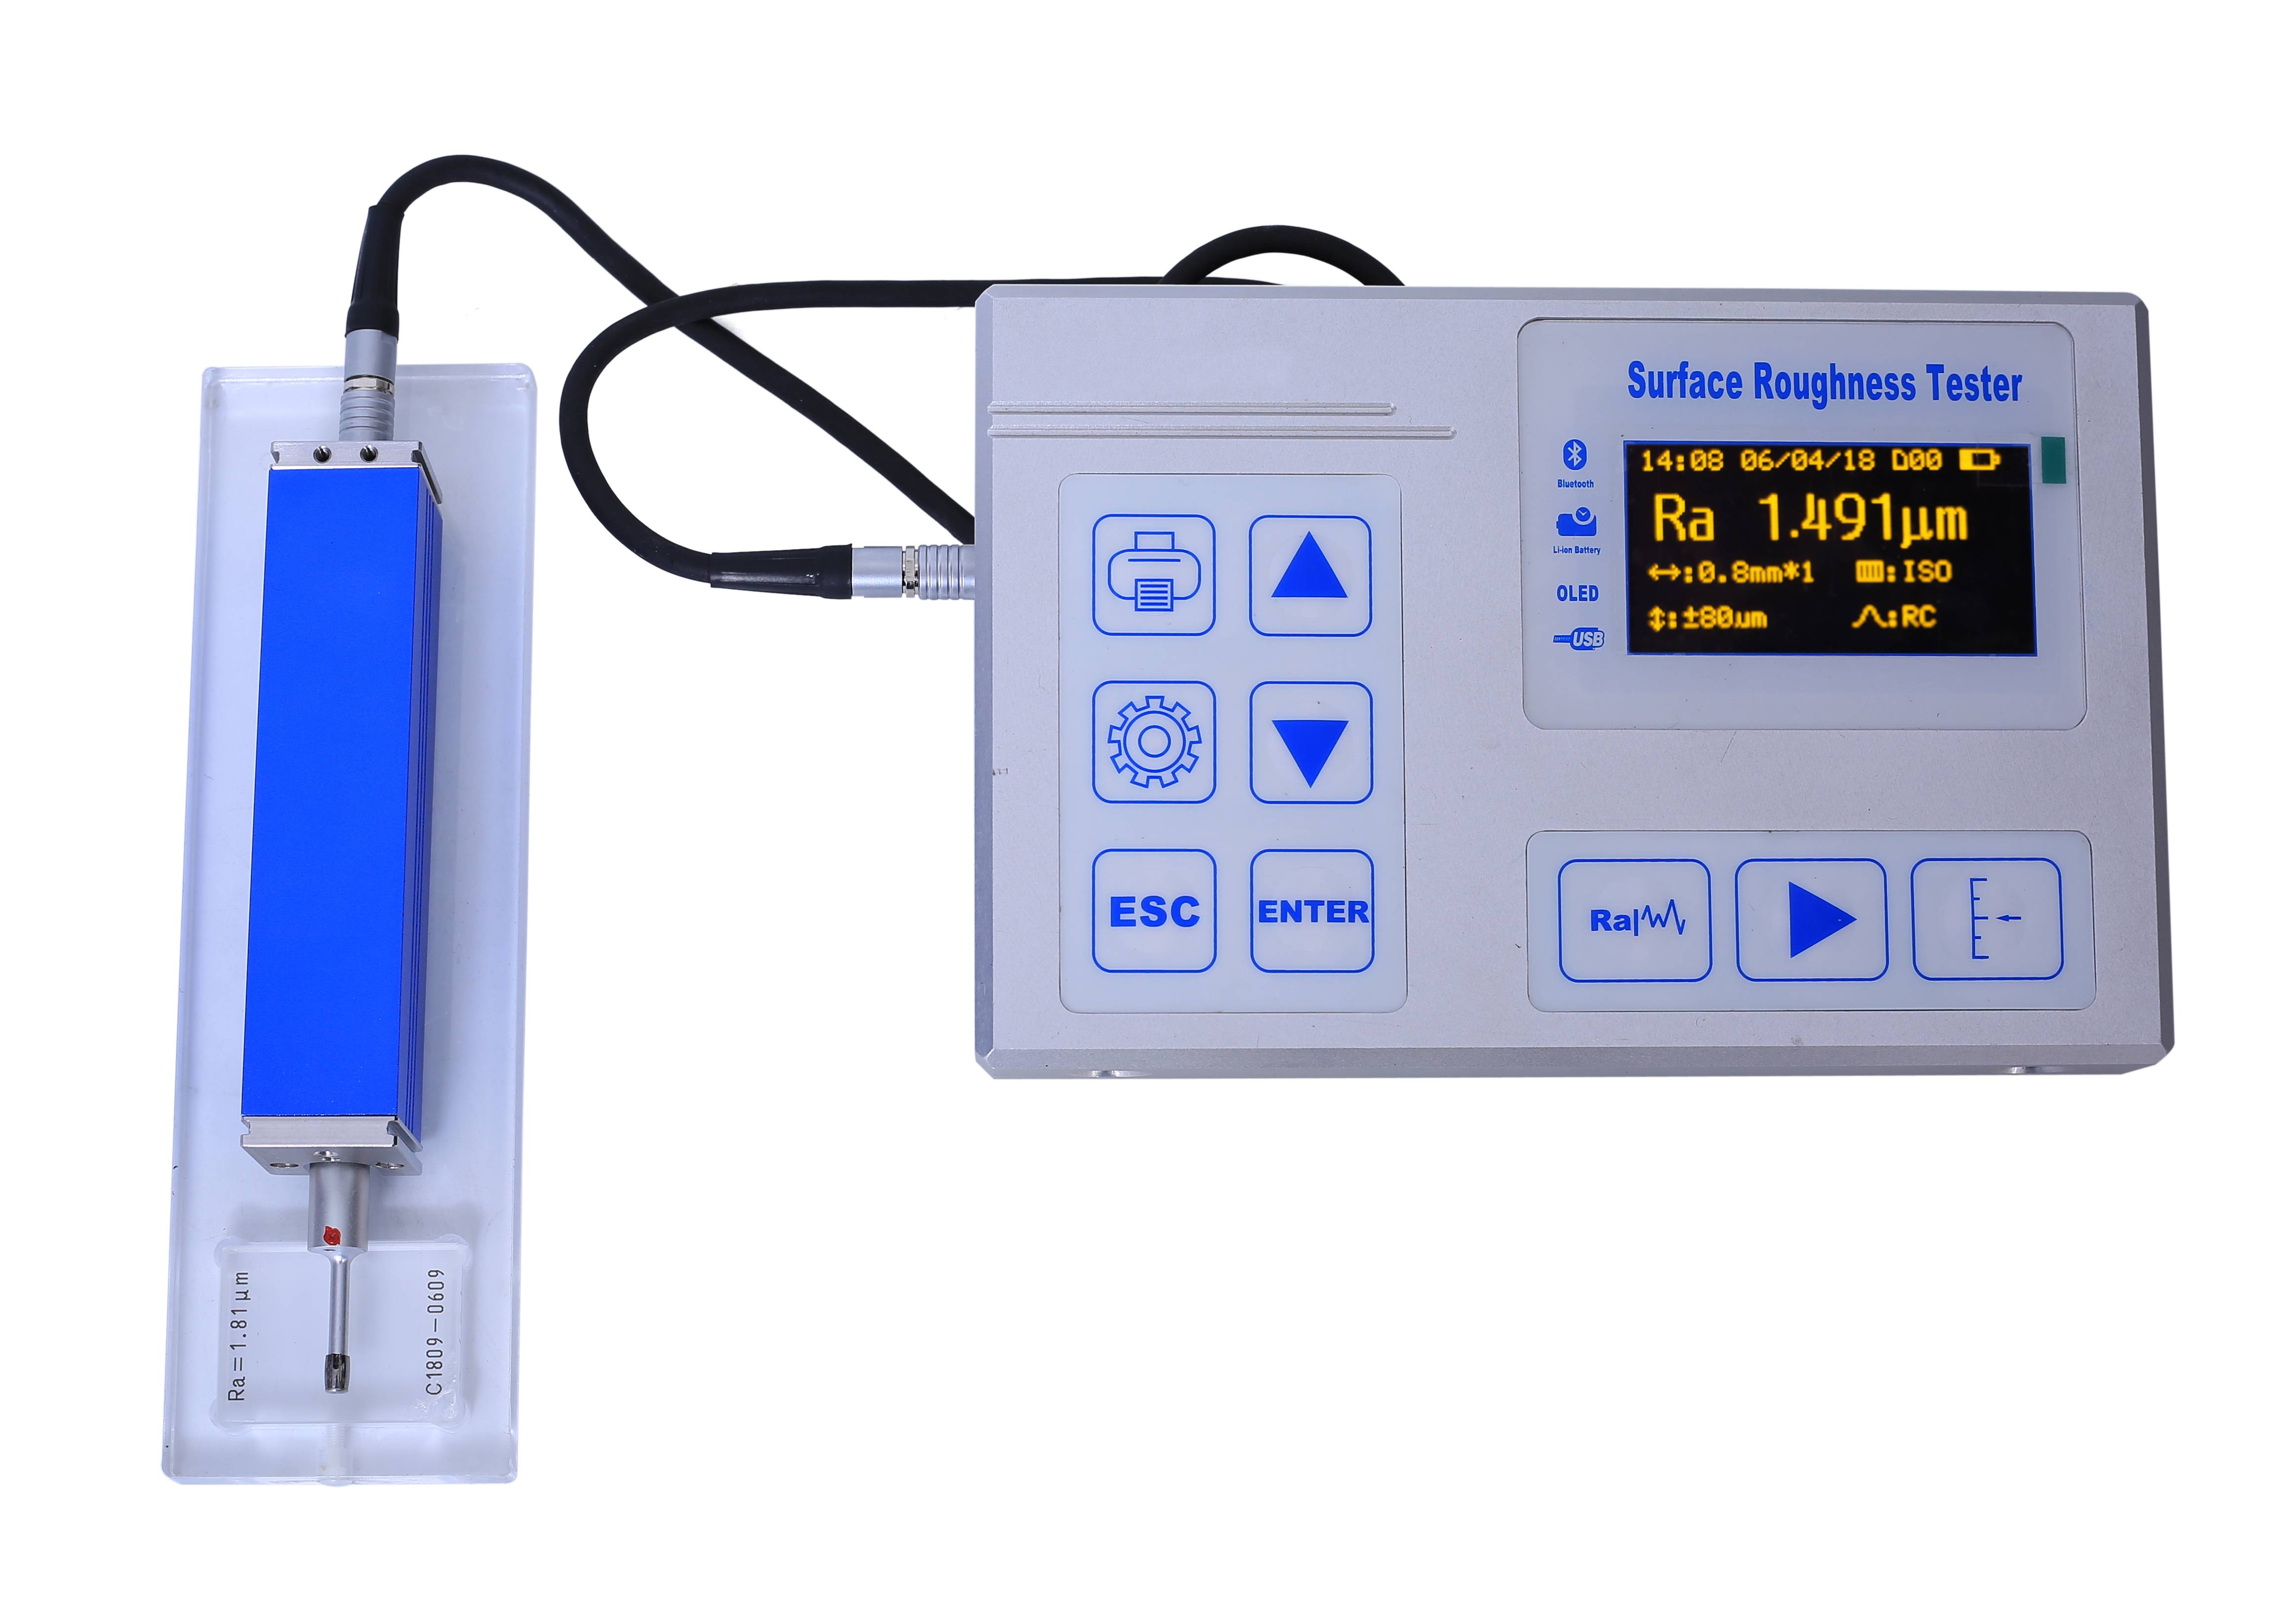
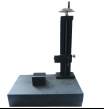
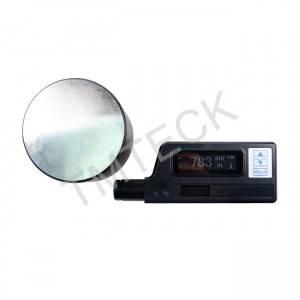
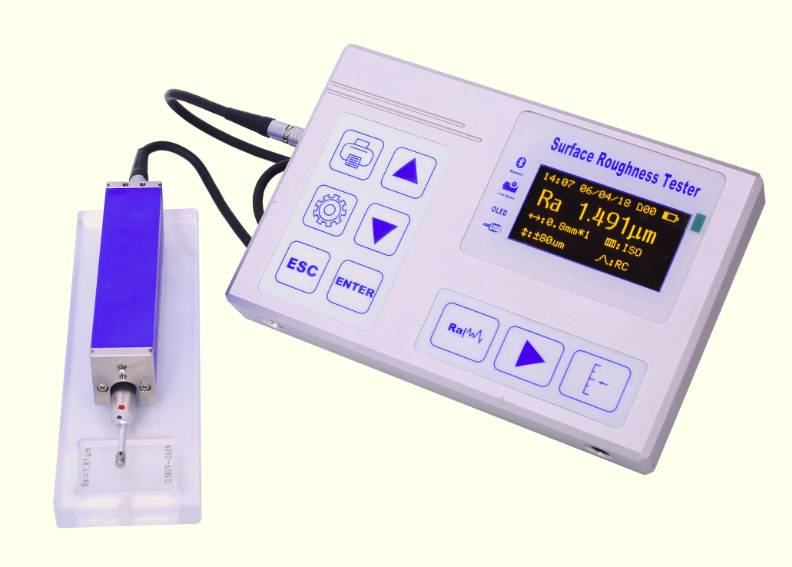
पृष्ठभाग उग्रपणा परीक्षक TMR360
तांत्रिक माहिती
<td ” width=”436″>Bearing area curve, Roughness profile, Primary profile<td ” width=”436″>RC,PC-RC,Gauss,D-P<td ” width=”436″>0.25, 0.8, 2.5mm<td ” width=”436″>Ln= lr×n n=1~5<td ” width=”436″>skidded<td ” width=”436″>Diamond, 90 cone angle, 5μmR<td ” width=”436″><4mN<td ” width=”436″>hard alloy, skid radius of curvature: 40mm<td ” width=”436″>lr=0.25, Vt=0.135mm/s<td ” width=”436″>lr=0.8, Vt=0. 5mm/s<td ” width=”436″>lr=2. 5, Vt=1mm/s<td ” width=”436″>Return Vt=1mm/s<td ” width=”436″>Less than ±10%<td ” width=”436″>Less than 6%<td ” width=”436″>Built-in Lithium ion battery, Charger ![]() C5V,900mA<td ” width=”436″>Main unit: 200*130*30mm drive: 23*27*115mm<td ” width=”436″>Around 490g<td ” width=”436″>Temperature: – 20℃ ~ 40℃Humidity: < 90% RH<td ” width=”436″>Temperature: – 40℃ ~ 60℃Humidity: < 90% RH
C5V,900mA<td ” width=”436″>Main unit: 200*130*30mm drive: 23*27*115mm<td ” width=”436″>Around 490g<td ” width=”436″>Temperature: – 20℃ ~ 40℃Humidity: < 90% RH<td ” width=”436″>Temperature: – 40℃ ~ 60℃Humidity: < 90% RH
|
Measurement Range |
The Z axis (vertical) |
±80μm/±160 µm(enhanced model) |
|
The X axis (Transverse) |
20mm | |
|
Resolution |
The Z axis (vertical) |
0.01μm/±20μm |
| 0.02μm/±40μm | ||
| 0.04μm/±80μm | ||
| 0.08μm/±160μm | ||
| 22 Parameter | Ra,Rz,Rq,Rt,Rp,Rv,R3z,R3y,Rz(JIS),Rs,Rsk,Rsm,Rku,Rmr,Ry(JIS), Rmax, RPc, Rk, Rpk, Rvk, Mr1, Mr2) | |
| Graphic | ||
| Filter | ||
| The sampling length(lr) | ||
| Assessment length(ln) | ||
|
Sensor |
Measuring method | |
|
Stylus tip |
||
|
Force |
||
|
Skid part |
||
|
Traversing speed |
||
| Accuracy | ||
| Repeatability | ||
| Power supply | ||
| Outline dimension | ||
| Weight(main unit) | ||
| working Environment | ||
| Store and Transportation | ||
MAIN FEATURE
❉Mechatronics and ergonomics design, small size, light weight, easy to operation
❉The stylus drive unit can be stored within the main unit for standard measurement, or separated from the display unit by using the supplied cable which allows more flexible measurement in any orientation. The driver can be separated and reattached in one simple step.
❉DSP chip control and data processing, high speed, low power consumption
❉22 Parameters: Ra ,Rz, Rq, Rt, Rp ,Rv, R3z, R3y, Rz(JIS), Rs, Rsk, Rsm, Rku, Rmr, Ry(JIS), Rmax,RPc, Rk, Rpk, Rvk, Mr1, Mr2
❉Measurement range up to 160μm (can be optional to 320μm)
❉4 inches OLED screen, wide viewing angle, excellent readability display.
❉Can be operated using buttons and has menu.
❉It provide Bluetooth Capability , support wireless connection with mobile and mini printer.
❉Built-in lithium-ion rechargeable battery and control circuit, high capacity, no memory effect, it works over 55 hours while fully charged, and there is remaining charge indicator, charging hint
❉Large capacity data storage, 100 item of raw data and curves can be stored
❉Real-time clock setting and display for easy data recording and storage
❉With auto sleep, auto power off, power-saving features
❉Reliable circuit and software design to preventing the motor stuck
❉Language: Chinese and English switch freely
❉All parameters or any of the parameters which set by users can be printed
❉Optional accessories: Bluetooth capability, curved sensor, pinholes sensors, measurement, stand, extension rod, printer
❉Portable Surface Roughness Tester TMR360 complies with international standards ISO, DIN, ANSI, JIS
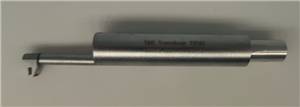
❉8 types of different probes can choosing ,can make the sensor as customers parts test needs ,like our TS11X ,Can test the narrow deep hole ,others can not test this special parts.
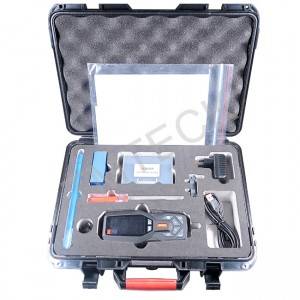
STANDARD DELIVERY
| ITEM | QTY |
| TMR360 Main body | 1 PC |
| Sensor TS100 | 1 PC |
| Calibration block and bracket | 1 PC |
| Bracket for Calibration Block | 1 PC |
| Height adapter | 1 PC |
| Power Charger & USB Cable | 1 PC |
| User manual | 1 PC |
| Instrument case | 1 PC |
| Warranty | 2 Years |
OPTIONAL ITEMS
|
Image |
Description |
|
|
TS55 – Extending Rod, extending rod increases the depth for pickup to enter the part. Length of extending rod is 50mm. |
|
|
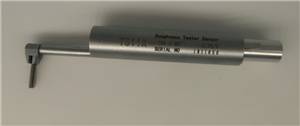
TS90 – Right Angle Rod, change the position of the sensor, mostly use for measure surface of particular groove. |
|
|
TS100 – Standard Sensor, to measure most of the plane, inclined plane, cone surface, inner hole, groove and other surface roughness, in addition to the standard sensor, other special sensors are needed to measure the measuring platform. |
|
|
TS110 – Curved Surface Sensor, to measure smooth cylindrical surface which radius is larger than 3mm, for the large radius smooth spherical surface and other surface also can obtain good approximation, need to work with platform TA1520 or TA1620. |
|
|
TS120 – Small hole Sensor, to measure the inner surfaces of holes with radius more than 2mm, better to work with platform TA1520 or TA1620. |
|
|
TS131 – Deep Groove Sensor, measure groove with width wider than 3mm and depth deeper than 10mm, or the surface roughness of step with height less than 10mm, also can used to measure the planar, cylindrical used with platform,better to work with platform TA1520 or TA1620. |
|
|
TS130- pick up for deep hole Radius for needle point: 5μm Angle for needle: 90° Force for needle: 4mN Measuring range: 400μm Min. width of hole: ø2mm Max. depth of hole: 20mm |
|
|
TS140- for curved surface Radius for needle point: 5μm Angle for needle: 90° Force for needle: 4mN Measuring range: 200μm |
|
|
TS11X:The narrow hole ,wideth is above 2mm ,depth is above 3mm to15mm .or the parts Convex and concave surfaces with curvature radius above than 3 mm,need with the plate. |
|
|
TA1420-Magnetic flexible base for simple test ,easy move and comfortable using |
|
|
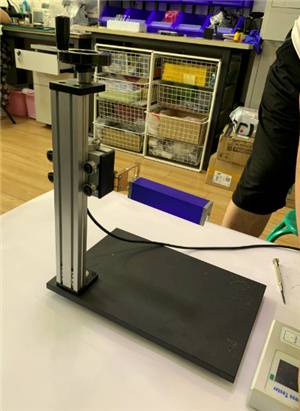
TA1520 -Metal Substrate Working platform, adjustable height 200mm.With flexible and stable operation and wider application range. Roughness of complex shapes can also be measured. Measurement stand enable the adjustment of the position of stylus to be more precise and measurement to be more stable. If Ra value of measured surface is relatively low, Using measurement platform is recommended. |
|
|
TA1620 -Marble Substrate Working Platform, FeaturesElevating the table through screw, and V shape groove is available, it is suitable for testing tiny workpiece to improve the accuracySpecificationsDimensions: 400 mm×250 mm×70 mmY-axial range: 300mm±1mm |
|
|
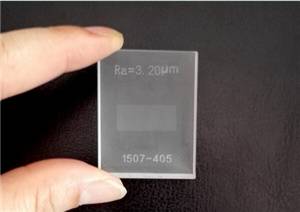
Standard Roughness Calibration Block Multi-engraved lines (Square Wave)Made by optical glass, with high hardness, high accuracy standard roughness value, anti-scratch, has longer life than metal roughness block.Meet standard GB/T19067.1-2003 and ISO5436-1:2000Approximation: Ra=0.1um, 0.2um, 0.4um, 0.8um, 1.6um, 3.2um, 6.4umCustomized Value and Sine Wave available. |
|
|
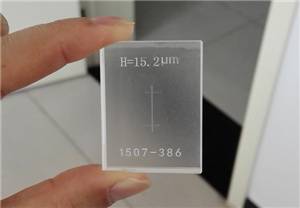
Standard Roughness Calibration Block Single engraved linesMade by optical glass, with high hardness, high accuracy standard roughness value, anti-scratch, has longer life than metal roughness block.Meet standard GB/T19067.1-2003 and ISO5436-1:2000Approximation: Ra=0.1um, 0.2um, 0.4um, 0.8um, 1.6um, 3.2um, 6.4um)Customized Value available. |
|
|
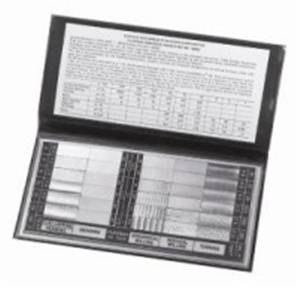
Roughness Comparator (30 pcs/set)This set contains standards of the six most important machining methods in the prevalent “AA” values. These surface roughness is used to compare and determine the degree of the surface finish by comparision method and eye estimation or magnifying glass.The surface rough contast blocks is made of 45 super carbor steel except the GCr15 which is using to plat lapping the sample block. All 30 speciments are calibrated in u”AA (Arithmetical Average) and in the metric equivalents um Ra. |
|
|
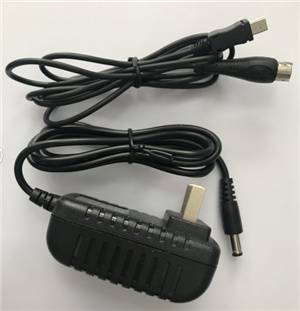
Charge and Cable for Surface Roughness TesterCharger: US and EU standard optionalCable: USB interface |
|
|
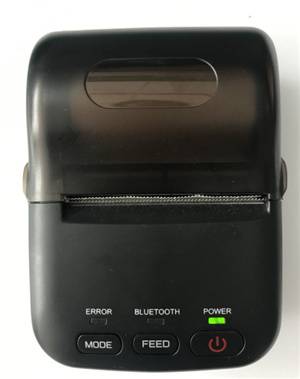
Mini thermal printerExternal printer, connect by USB interface, suitable for TMTECK models. |
|
|
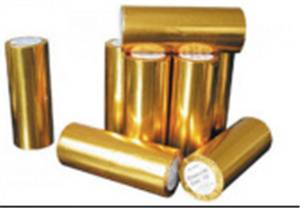
Thermal printing paperSuitable for mini thermal printer and TMTECK tester with built-in printerPacking: 10pcs/bag |
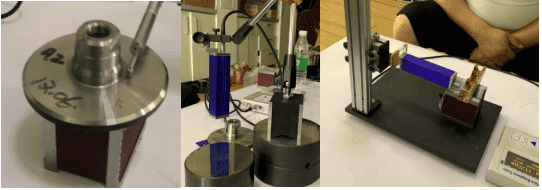
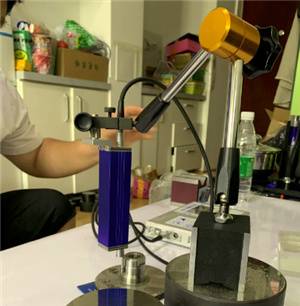
TEST Phote
